Today in this article, I will explain how to set the work parameters of your numerically controlled milling machine simply and safely, even if you have little or no experience.
In fact, it is essential to work with the right parameters to avoid burning the wood and making the surface rough, as well as risking breaking the cutter and even hurting yourself!
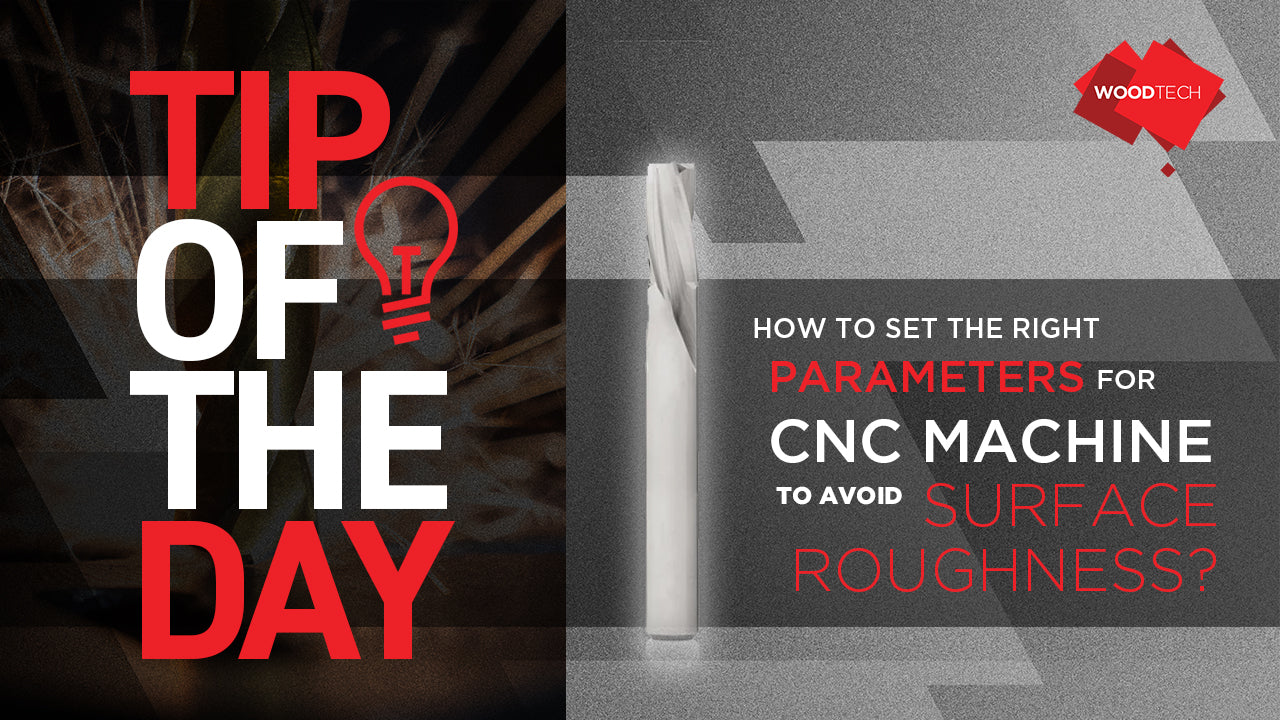
Before starting, it is right that you know that the most used cutters in CNC are the spiral ones, so called because the cutting edge has the shape of a helix and allows a greater discharge of the wood chip compared to the cutters with straight cutting edges.
For this purpose, we can take the instance of COMPRESSION SPIRAL 2 WING, which is perfect for this work. It carries the following features:

- Using precise machine tools to grind out the unique spiral blade angle, improve sharpness
- Design oversized spiral and discharge chips to prevent sticking, raising production efficiency.
- High concentricity, non-stick crumbs, not black, increase the speed.
These cutters can be built entirely in steel or hard metal, or they can have diamond inserts.
There are various methods for establishing which working parameters are suitable for processing. I prefer the "practical" one, based on experience and practical tests.
Going into detail, the practical method consists of choosing a cutter and a wood and carrying out a cutter at different depths, adjusting the tool's rotation speed and advancement speed to obtain a smooth cutter without burns. What is obtained from each test is a working curve, which we now see together.
The working curves for CNC milling machines

I have represented 4 working curves, each referring to a spiral cutter of different diameters, from 3 to 12mm.
Along the horizontal axis, the advancement speed of the tool is indicated in meters per minute. In contrast, along the vertical axis, which goes downwards, the working depth is indicated in mm.
As you can immediately guess, the forward speed must decrease as the working depth increases to allow for good milling.
Before starting to interpret the curves in detail, you must know that they have been obtained by respecting certain conditions, which are:
- Rotation speed of the twist drill is between 18000 and 24000 revolutions per minute (or RPM).
- Soft and dry wood.
- Milling machine in good condition (i.e. free from sensitive vibrations).
- Sharp twist drill.
- Last but not least, the cutter must be robust and precise; otherwise, it is better to avoid wasting time because you will do disappointing jobs.
But let's finally see how you have to interpret each curve!
Once the curve has been identified based on the diameter of your cutter, you will have to choose the value of the working depth of the pass according to your needs.
For example, let's take a working depth equal to the diameter of the cutter, which is a recommended value, and assume that we have a 6 mm cutter to know the feed speed value. You will have to draw a horizontal line from the cutting depth value up to the work curve, and then, once you reach the curve, you will draw a vertical line until it touches the feed rate axis.

Respecting the proportions, I can conclude that the optimal value of the forward speed is about 4.5 meters per minute.
We repeat the exercise with the 12mm cutter and find that the value is about 7.5 meters per minute.

Interesting right? So from today, you too can interpret the work curves of CNC milling cutters and know that we have decided to simplify your life further because immediately after the purchase of CNC milling cutters, you will have the values of the working parameters directly in your account!
Conditions to Interpret the Curves
- For example, if you are working hardwood, the values obtained for the forward speed must be multiplied by 0.9 (therefore, they are reduced).
- If you work across the wood grain, the values obtained for the forward speed must be multiplied by 0.7 (therefore further reduced).
- If your cutter has 2 spirals, the values obtained for the feed speed must be multiplied by 1.3 to avoid burning the wood and wearing the cutting edge too much. As the number of cutting edges increases, you can mill much faster.
As the surface roughness deteriorates, various problems arise, such as frictional resistance, deterioration of airtightness, and poor gloss of the cut surface. I will explain each issue.
Frictional resistance increases and airtightness deteriorate.
When metals are combined, if the surface roughness is large, frictional resistance is generated on the surface, which may interfere with the machine’s sliding. In addition, gaps between the combined metals become larger and degrade airtightness.
The metallic lustre of the cut surface is lost.
Polishing metal to a smooth finish produces a metallic lustre. On the other hand, if the surface roughness during cutting is large, the metallic lustre will be lost, resulting in a rough texture.
Sometimes we intentionally aim for a rough texture, but in many cases, the appearance deteriorates due to the effects of surface roughness, so care must be taken.
There is no machining allowance, resulting in poor processing
Additional machining is required if the dimensional accuracy is severe and the tolerance is not met during cutting.
However, if the surface roughness is too large, there will be no machining allowance to improve the roughness, resulting in poor machining.
Major Factors that Degrade Surface Roughness
We will introduce three main factors that cause surface roughness to deteriorate in the finishing process of cutting.
- When a cutting tool has a built-up edge: The built-up edge repeats growth and falling off during the cutting process, and the rake angle changes each time, resulting in a worsening of surface roughness.
- When the cutting tool wears out and becomes dull: The finishing tool wears out, making it impossible to achieve the set rake angle, or the surface texture of the worn tool is transferred to the material, resulting in surface roughness getting worse.
- Improper cutting conditions: The surface roughness will also deteriorate if the cutting conditions in the finishing process, such as the feed rate of the cutting tool, are not appropriate.
Countermeasures against deterioration of surface roughness
To prevent deterioration of surface roughness, it is necessary to take measures by selecting cutting tools and setting cutting conditions.
Measures by selecting tools
Countermeasures through tool selection include coating the tool’s surface, the size of the corner R of the insert, the choice of a tool with a large rake angle, and the wiper insert.
Select coating tools
Selecting a coated tool is effective in suppressing the occurrence of a built-up edge that causes surface roughness. Since the susceptibility to built-up edge changes depends on the combination of the cutting tool and workpiece, applying a coating will make it less likely to occur.
If the occurrence of a built-up edge can be suppressed, it is possible to prevent the deterioration of surface roughness.
Select a tool with a small insert corner radius and a large rake angle
By reducing the corner R, the resistance during cutting can be suppressed, and the deterioration of the surface roughness can be suppressed. In addition, by increasing the rake angle, it is possible to suppress tool wear, leading to surface roughness deterioration.
Select wiper insert
Typically, increasing the feed rate worsens the surface roughness. Still, by using a wiper insert with a wiper blade, it is possible to suppress the deterioration of the surface roughness even if the feed rate is increased. Also, if the feed amount can be improved, the wear of the cutting tool can be suppressed, and the tool’s life can be extended.
Countermeasures by cutting conditions
To prevent the surface roughness from deteriorating, the key points to keep in mind in terms of cutting conditions are "reducing the feed rate" and "cooling the cutting point".
Reduce feed amount
If the feed amount increases, the machining per tooth increases, and the surface roughness deteriorate. On the other hand, by reducing the feed amount, it is possible to perform highly accurate processing and suppress the deterioration of surface roughness. However, since the processing speed slows down, care must be taken not to affect productivity.
Cool the cutting point
Built-up edge, which adversely affects surface roughness, tends to occur when the temperature at the cutting point rises. Using coolant, in addition to suppressing temperature rise, it is possible to improve lubricity and prevent deterioration of surface roughness.
Summary
Remember that all your expertise is useless if your cutters burn, make surfaces rough, and lose their edge after a few hours, even when optimising the processing parameters. Your supplier cannot help you and suggest something better!
This way, you'll waste your precious time and feel disappointed and frustrated because you can't make the beautiful projects you have in your head, and maybe some of your friends, who figured out the trick, can do it!
But what is the trick?
You must contact a reliable woodworking machinery supplier like Wood Tech who does not have an infinite range of tools in their catalogue and who can therefore provide you with cutters and services that will allow you to concentrate only on what you like, that is, milling wood expressing your ability to the fullest and achieving maximum personal satisfaction!